
The Upholstery Insider
The Upholstery Insider by Canvas Guy - is where drivers, businesses, and boat owners in Utah can learn more about upholstery and canvas repair. Explore our guides, see real projects, and discover how to make your interior last longer.
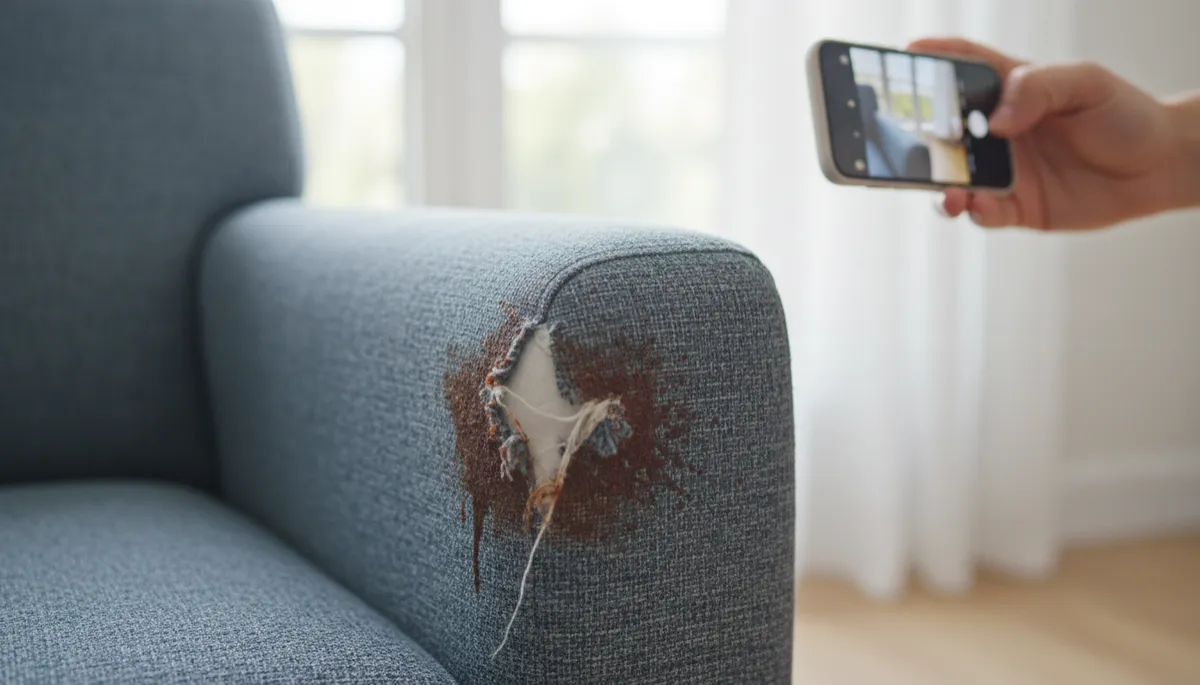
Photograph Upholstery Damage for Accurate Estimates
Home Care, Upholstery Repair, Insurance Claims
How to Photograph Upholstery Damage for a Better Repair Estimate
Clear, well‑planned photos of your damaged sofa, chair, or car seats can mean the difference between a vague guess and an accurate, fair upholstery repair estimate. With a few simple techniques, you can capture the details professionals need—using just your phone.
Why Good Photos Matter for Your Estimate
When you ask for an upholstery repair estimate online, the person quoting the work is relying almost entirely on your photos. If the pictures are dark, blurry, or only show part of the problem, the upholsterer or insurance adjuster has to guess. That usually leads to:
Estimates that are higher “just in case” the damage is worse than it looks
Follow‑up emails asking for more photos, which delay the repair or claim process
Surprises on the day of repair, when the professional discovers hidden issues
Clear, well‑lit photos taken from the right angles help professionals judge the size of the damaged area, the type of fabric or leather, and whether there are structural issues beneath the surface. That means a more accurate estimate, fewer surprises, and often a faster turnaround time for you as a consumer.
Step 1: Prepare the Area Before You Start Shooting
Before you even open your camera app, take a couple of minutes to set up the space. This makes a bigger difference than you might think and helps the person reviewing your photos focus on the damage, not the clutter around it.
Clear away distractions. Remove throws, pillows, toys, bags, and anything else covering or crowding the furniture. The full shape of the piece should be visible.
Straighten cushions and seats. Put cushions in their usual position so the damage is shown in context. If something is sagging, don’t prop it up—professionals need to see that.
Wipe away surface dirt. Gently brush off crumbs, dust, or pet hair so the damage stands out clearly. Don’t attempt deep cleaning; just make the area visible.
💡 Pro Tip: If you’re photographing car upholstery, park in an open, well‑lit area and slide seats back to give yourself room to move around with your phone.
Step 2: Use the Best Light You Have (Natural Is Ideal)
Lighting can make or break your photos. Poor light hides details like small tears, faded areas, and subtle stains. Most modern smartphones can take excellent photos if the lighting is right, so focus on this before worrying about camera settings.
Use daylight when possible. Open curtains or blinds and take photos during the day. Soft, indirect daylight is best—harsh midday sun can create strong shadows that hide damage.
Avoid using the flash up close. Flash can cause glare, especially on leather or vinyl, and can wash out color and texture. If you must use it, step back slightly and zoom in a little instead of shooting right on top of the spot.
Add extra lamps if needed. In darker rooms, turn on multiple lamps and point them toward the ceiling or walls so the light bounces and softens. Try not to shine a bright light directly at the fabric—it can create shiny spots and deep shadows.
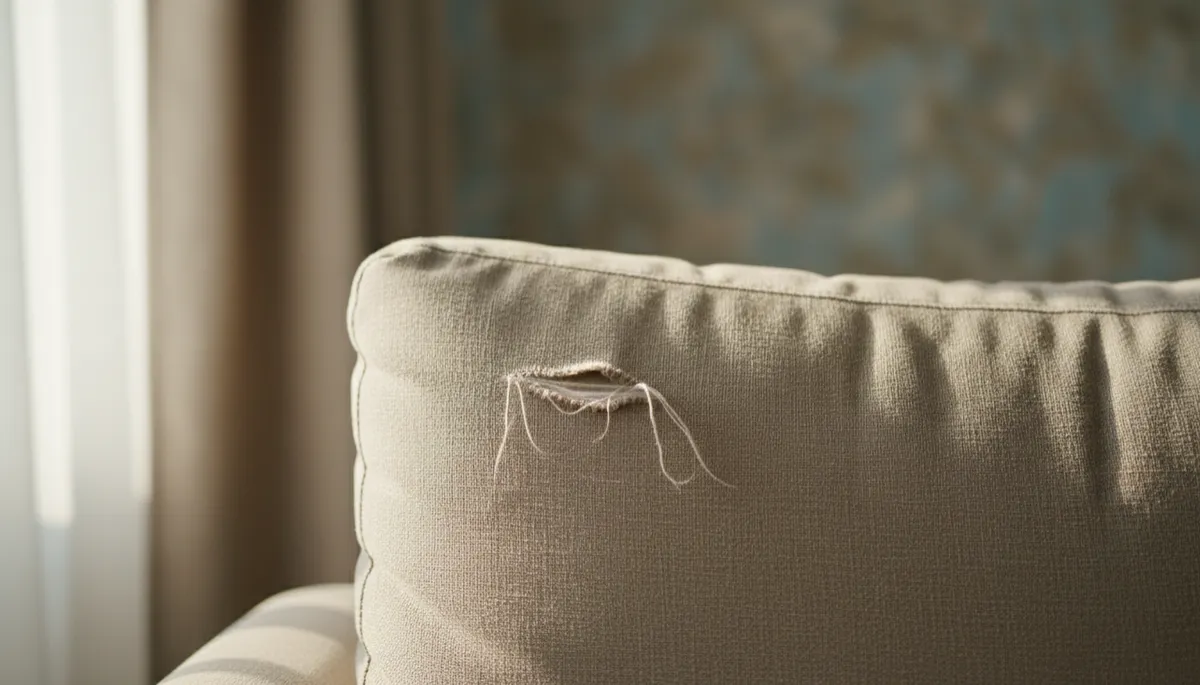
Soft natural light reveals texture, color, and the true extent of damage.
Step 3: Start with Wide Shots to Show Overall Context
A common mistake is to jump straight to extreme close‑ups. While detail is important, professionals first need to understand where the damage is and how it relates to the entire piece of furniture or vehicle interior.
Take a full piece shot. Stand back far enough to capture the entire sofa, chair, or seat in one frame. This helps the estimator understand the style, size, and general condition of the item.
Include the damaged area in a medium shot. Next, move a bit closer so the damaged section fills about a third of the frame. This shows its location (for example, “front edge of the left seat cushion”) without losing all context.
These wider shots are especially helpful for insurance claims, where the adjuster may need to see that the damage is limited to one area or affects multiple cushions or panels.
Step 4: Capture Clear Close‑Ups of the Actual Damage
Once you’ve taken your wide and medium shots, it’s time to move in closer. This is where you show what’s really going on with the fabric, leather, or stuffing. Take your time here—these photos often carry the most weight in determining your estimate.
Hold the camera steady. Rest your elbows on the arm of the sofa, a table, or your knees if needed. A steady hand prevents blurriness that hides fine details like fraying threads or cracked leather.
Focus on the damaged area. On most phones, you can tap the screen where the damage is to make sure it’s in sharp focus. If your phone lets you, slightly lower the exposure so bright areas don’t wash out texture.
Avoid extreme digital zoom. Instead of zooming in all the way, move your phone physically closer. Excessive zoom can make photos grainy and unclear, especially in low light.
For rips and tears, try to show both the opening and the surrounding area. For stains, capture how deep the discoloration is and whether it affects seams, piping, or patterned fabric. If foam or stuffing is exposed, take at least one photo that clearly shows it.
Step 5: Show Size and Scale Accurately
It’s hard to judge the size of a tear or burn mark from a photo alone. A tiny rip can look enormous in a close‑up, and a large damaged area can seem smaller than it really is. Adding a sense of scale helps your upholsterer or insurer understand the true extent of the problem.
Place a common object—like a coin, ruler, or standard pen—next to the damage in at least one photo. Make sure the object isn’t blocking the view of the tear or stain.
If you prefer not to use objects, step back slightly and include a larger portion of the cushion or seat. The visible seams and edges will help give a sense of size.
💡 Pro Tip: Take at least one “before” photo with scale even if you think the damage is small. If it worsens over time, you’ll have a record of the original size for your claim or quote.
Step 6: Don’t Forget Angles, Seams, and Hidden Issues
Some upholstery problems are more than skin deep. A small tear along a seam might indicate that stitching has failed. A sagging cushion could point to worn webbing or broken springs underneath. Adding a few extra angles helps professionals spot these issues early.
Photograph seams, piping, and edges around the damaged area from the side as well as from above. This shows whether seams are pulling apart or still intact.
If the cushion or seat is visibly uneven or sinking, take a photo from eye level across the surface so the slope is clear.
Where safe and easy, gently lift a cushion or flap of fabric and take one photo underneath to show any exposed foam, lining, or broken support.
Step 7: Capture Fabric Type, Color, and Overall Condition
Repair options and costs depend heavily on what your upholstery is made of and how worn it already is. A high‑end leather armchair will be treated differently from a budget microfiber sofa, even if the damage looks similar.
Take one or two photos that focus on the fabric or leather texture in a clean, undamaged area. This helps match materials and understand how they will respond to repair or cleaning.
If your upholstery has a pattern, show how the pattern lines up across seams and cushions. This matters when replacing panels or sections.
Don’t hide general wear and tear. Fading, pilling, or cracking in other areas can influence whether repair, partial reupholstery, or a full recover is recommended.
Step 8: Take Multiple Photos and Then Edit Down
As a consumer, you don’t need to send dozens of nearly identical photos, but you also don’t want to rely on just one or two shots. The safest approach is to:
Take several versions of each angle—wide, medium, and close‑up. Slight variations in focus or lighting can make one photo much clearer than the others.
Review them on your phone screen and delete any that are blurry, crooked, or too dark. Aim to keep a strong set of 6–10 photos that tell the whole story.
When you send your images, you can label them in your message—“full sofa,” “close‑up of tear,” “side view of sagging cushion”—so the person preparing your estimate can quickly make sense of what they’re seeing.
Common Mistakes to Avoid When Photographing Upholstery Damage
To get the best possible estimate as a homeowner, renter, or car owner, steer clear of a few frequent pitfalls:
Photos taken in a dark room at night that make everything look gray and flat
Only sending extreme close‑ups so the professional can’t tell where on the item the damage is located
Covering damage with your hand or an object while trying to show size, instead of placing the object beside it
Using heavy filters or editing apps that change the color and contrast so the fabric no longer looks true to life
Putting It All Together: A Simple Photo Checklist for Consumers
When you’re ready to request an upholstery repair or insurance estimate, use this quick checklist to make sure your photos give professionals everything they need:
Area cleared and cushions in their normal position
Good natural or soft indoor lighting (no harsh flash glare)
One full shot of the entire piece of furniture or seat
One or two medium shots showing where the damage is located
Several close‑ups of the damaged area, in sharp focus and well lit
At least one photo with a coin, ruler, or pen beside the damage for scale
Extra angles showing seams, edges, and any sagging or structural issues
Final Thoughts: Better Photos, Better Estimates, Less Stress
You don’t need to be a professional photographer to document upholstery damage effectively. As an individual consumer, a few thoughtful steps—good lighting, clear angles, accurate scale, and multiple views—go a long way toward helping upholsterers and insurance adjusters understand exactly what you’re dealing with.
In return, you’ll receive estimates that are more precise, more transparent about what’s involved, and less likely to change later. That means you can make confident decisions about whether to repair, reupholster, or replace your furniture or vehicle seats—without the frustration of back‑and‑forth emails and surprise costs.
The next time a pet claw, moving mishap, or everyday wear leaves its mark on your upholstery, take a moment to follow these steps with your phone. Those extra few minutes can save you time, money, and stress throughout the entire repair or claims process.

Our Customers Say It Best
"We had a ripped boat cover that we thought was beyond repair. Now it’s strong, stylish, and holding up perfectly to the elements."

“My truck’s driver seat was cracked and falling apart. After Canvas Guy worked on it, it looks better than when it was new. The difference is night and day.”

“The only upholstery shop I recommend. Honest pricing, excellent work.”

“Finally, an upholstery shop that does it right the first time. Strong stitching, durable material, and quick turnaround.”

“I was restoring my classic car and needed the seats to match the original look. Canvas Guy nailed every detail.”

“We ride ATVs hard, and the seats take a beating. Canvas Guy’s work holds up better than anything I’ve tried before.”

Your Project Deserves This Level of Quality
Get In Touch
Email: [email protected]
Address
259 S Center St.
Elsinore, UT 84724
Phone Number:
(928) 925-8258


Copyright © 2026,all right reserved